Teams and loadouts
Every loadout answers three questions: who deletes the front of the wave, who covers the stretch in between, and who is still contributing at wave 30+. Pick one carry and commit upgrades to it, add coverage second, then re-test the same mode with one change at a time.
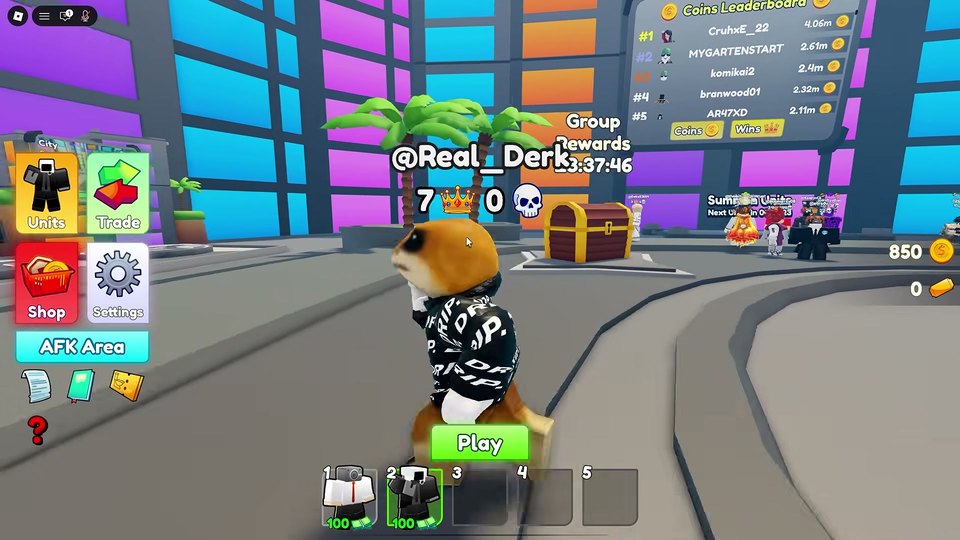
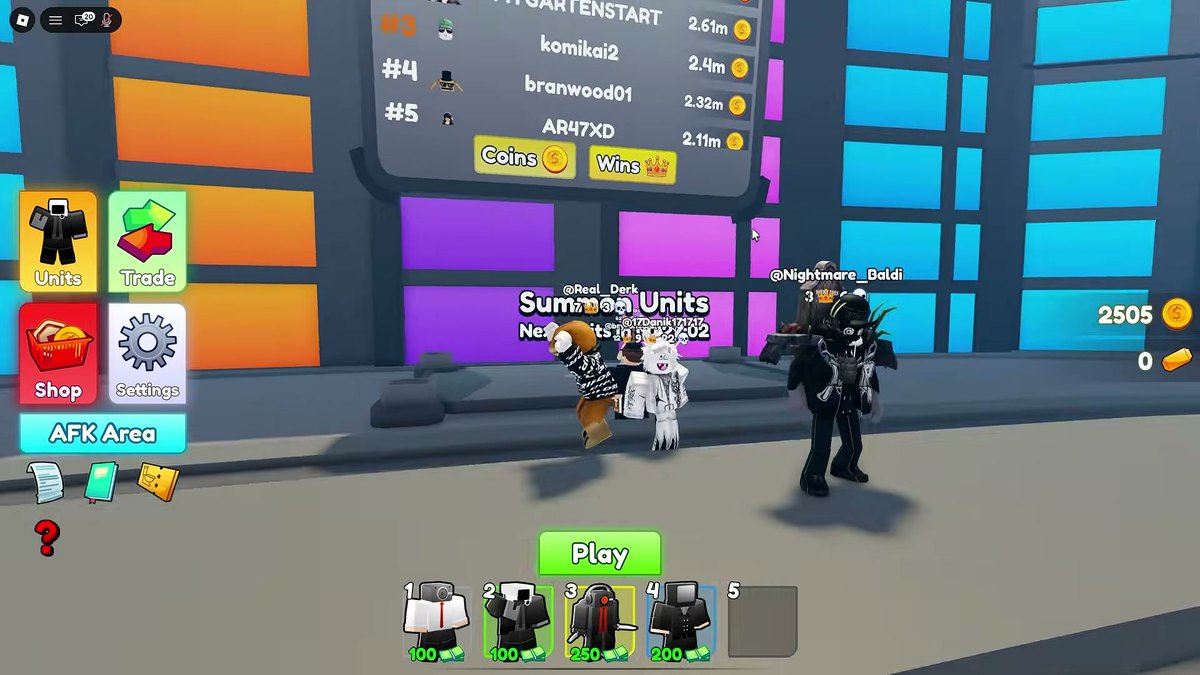
A team in Alliance Tower Defense is what you field, not what you own. The Roblox description is explicit about the step — equip your team with units — and the lobby's Units menu is where that happens. Get the loadout right and a modest collection clears Medium; get it wrong and a good collection feeds the lane.
This page is about the shape of a team: what jobs have to be covered, and how to test whether yours covers them.
The three jobs every team has to cover
Whatever unit names you happen to own, a working defense answers three questions along the path.
Who deletes the front of the wave? Somebody has to kill the leading enemies before the queue behind them stacks up. This is the unit you upgrade first, and the one that decides your early waves.
Who covers the stretch in between? A defense that kills only at the entry point leaks the moment enemies get faster or tougher. Coverage means your damage is spread across the lane, not stacked at one corner.
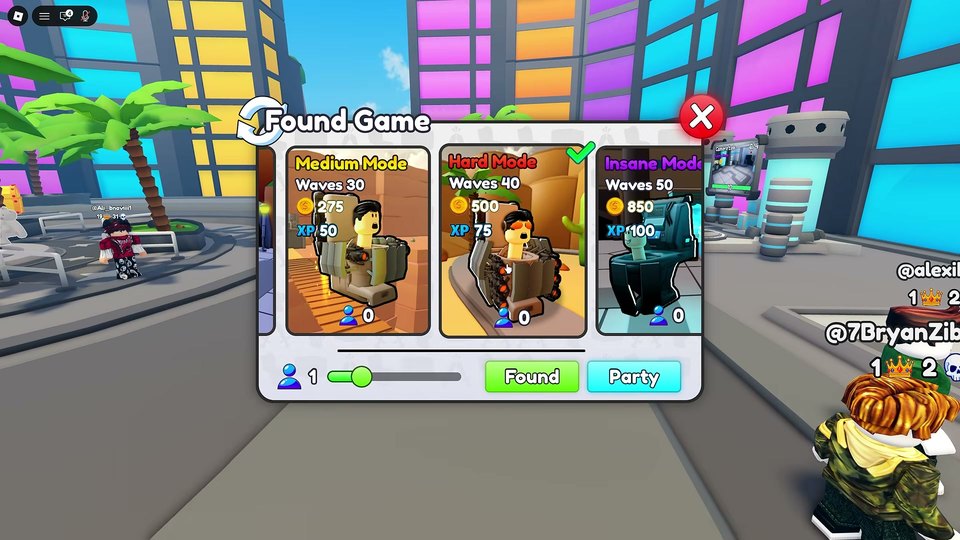
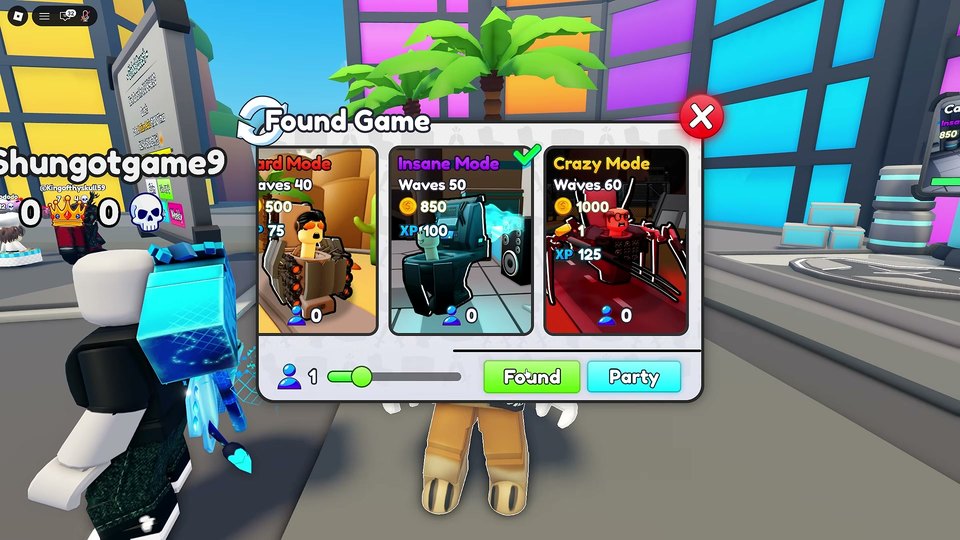
Who survives the end of the mode? Easy is 20 waves, Medium is 30 and Insane is 50. The last five waves are not the first five, and the badge numbers say so: barely a third of Easy clearers hold the Medium badge.
| Job | What to look for | What goes wrong |
|---|---|---|
| Front-line damage | The upgrade that pushes your kill depth furthest | Spreading upgrades across three units instead of one |
| Lane coverage | Placement that touches two stretches of path | Everything parked at the spawn point |
| Late-mode anchor | A unit that is still contributing at wave 30+ | Entering Medium with an Easy-only squad |
Building a loadout in five steps
- Start from the mode. Easy and Medium reward a cheap, wide formation; Hard and above reward depth on fewer units.
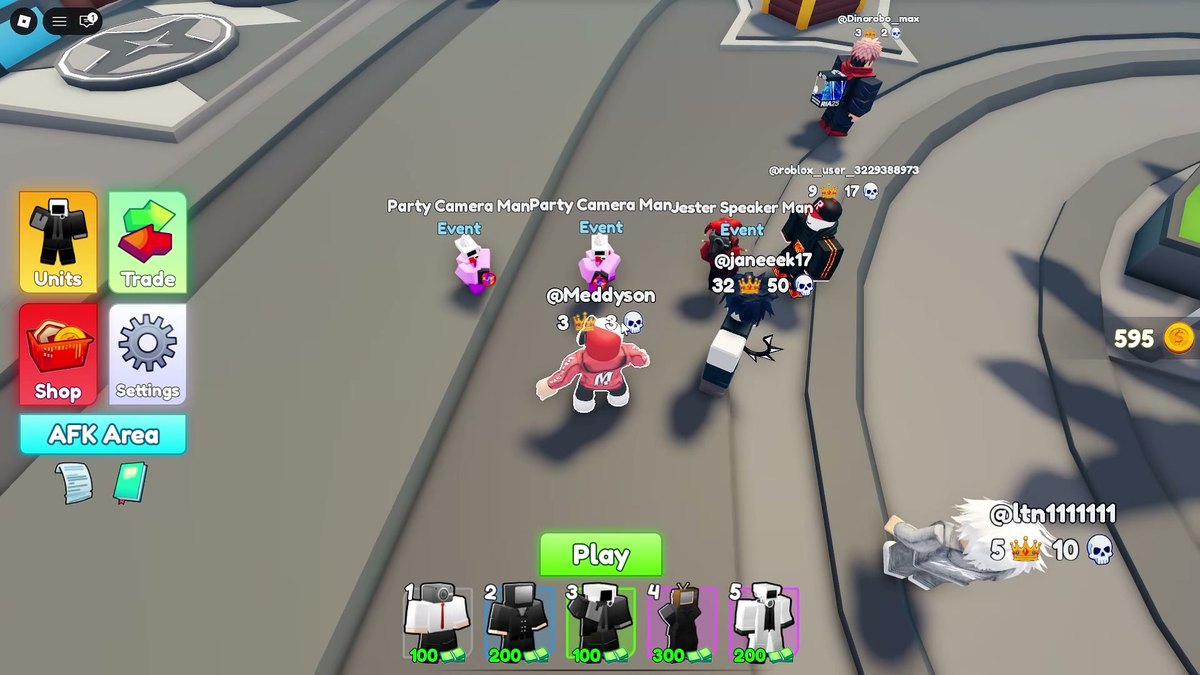
- Pick one carry and commit. One unit taken to a high level beats three units taken halfway — the HUD upgrade prices make the trade-off visible as you hover.
- Fill coverage second. Add units that fire at a different stretch of the path from your carry.
- Keep the bench small. Team slots are limited, and an untested pull sitting in a slot is a slot not doing damage.
- Re-test after every swap. Same mode, one change. If the wave you stop holding does not move, the swap did nothing.
Co-op changes the maths, not the rules
Servers hold up to 35 players, so a public run is not a solo problem. The practical effect is that someone else's coverage can hide a hole in yours — and that is exactly why public clears are a poor test of a loadout.
- Test solo when you can. A loadout that only works with four strangers is not a loadout.
- Read the lobby before you queue. The player count is in the lobby UI; a nearly empty server is a slower, harsher run than a full one.
- Use the Trade menu as a social feature. It is in the lobby menu; it is not a shortcut to a better team.
When a loadout is finished
It is finished when it clears the next mode without you watching the wave counter. If you are still counting waves, the team is doing the work — not you. The badge ladder is the honest checkpoint: Easy, then Medium, then Hard at 169,541 holders, then Insane and CRAZY.
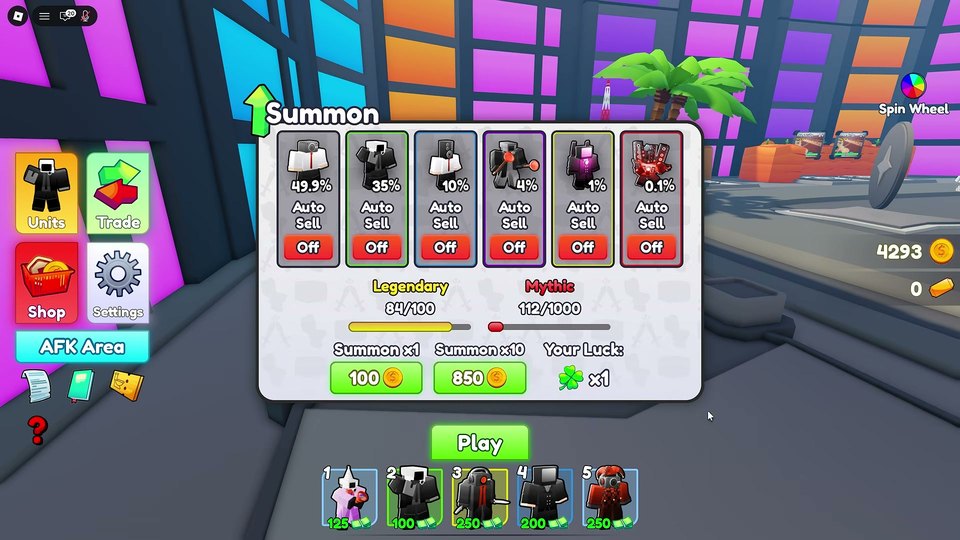
Next: Bosses and late-wave pushes, or go back to units and the Summon system if the team is limited by what you own.